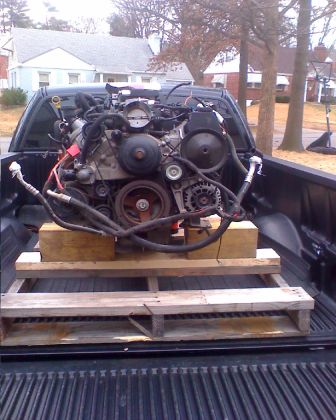
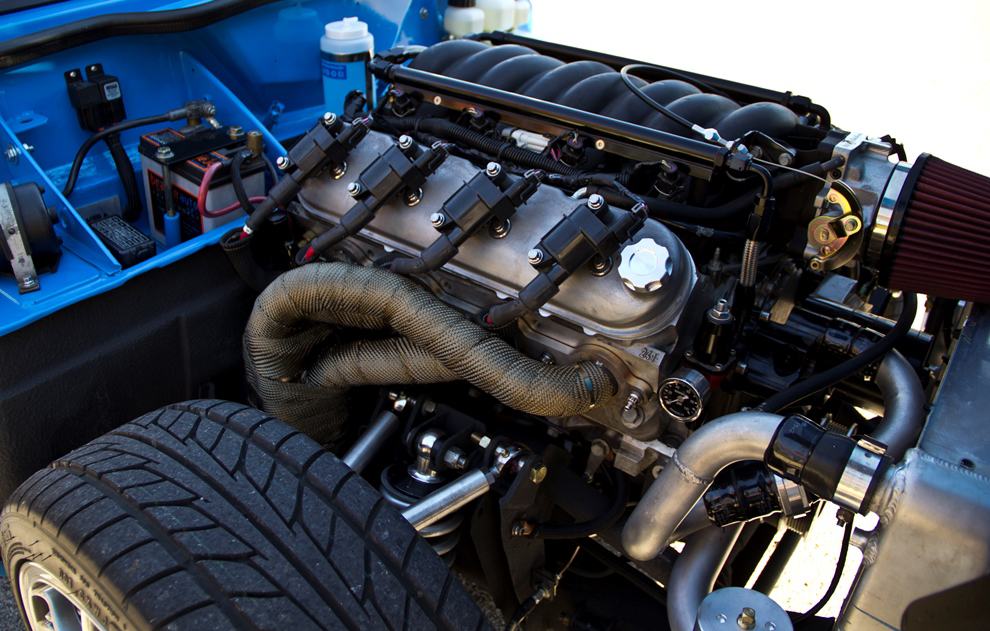
Modern drivetrain for power and reliability The powertrain upgrade came from a 2001 Pontiac Trans Am. An Ls1 backed with a Tremec T56 transmission. I recently finished up a new set of headers to allow for more steering angle and a cleaner appearance. I used Ultimate Headers flanges and cast tight radius elbows. 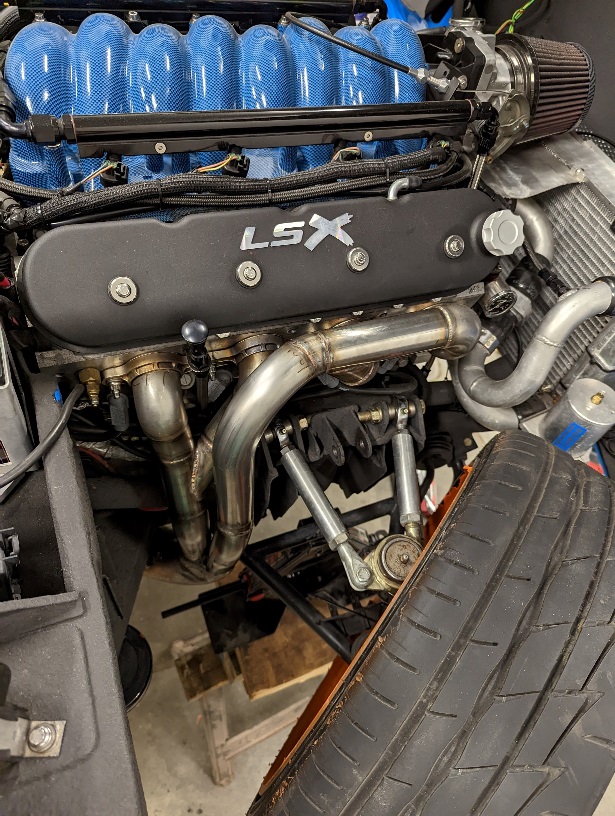 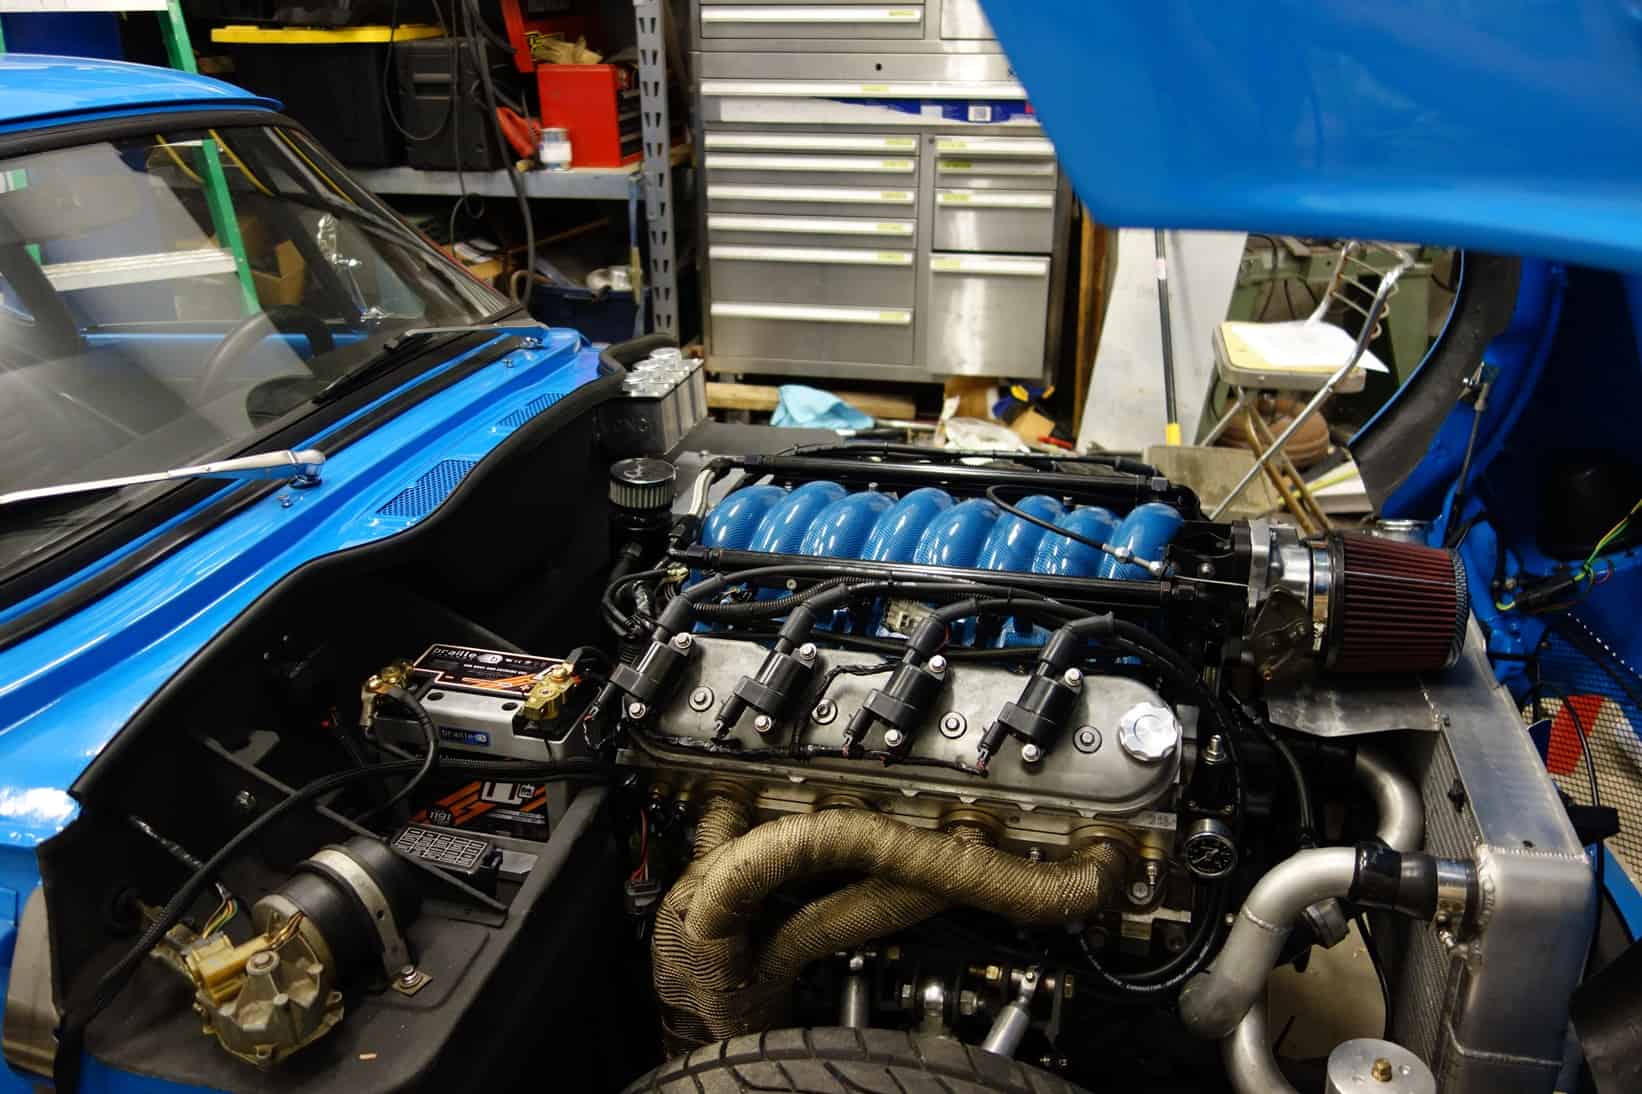 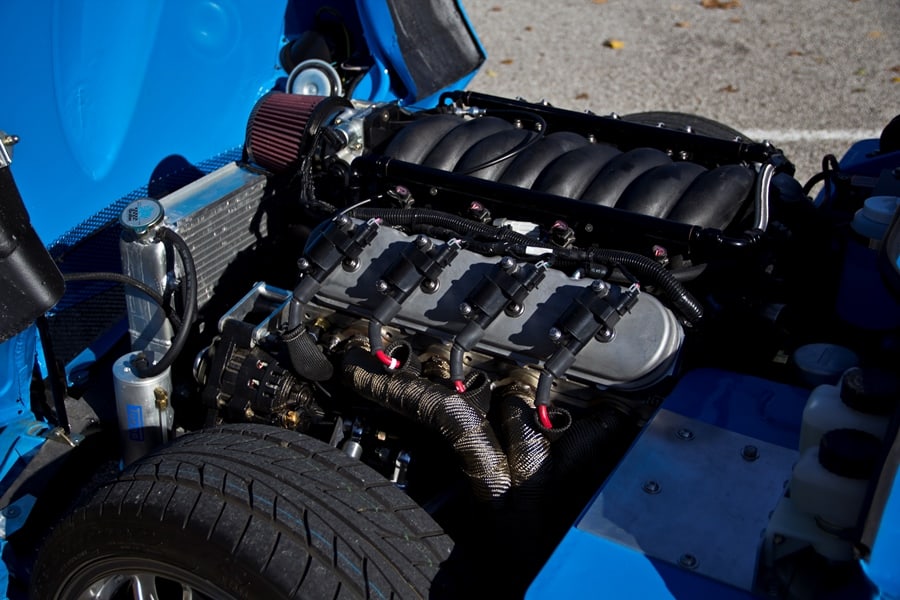
|